2x2 Ceramic Mosaic Tile: DIY - Installation Guide
2021.09.30 / By hqt
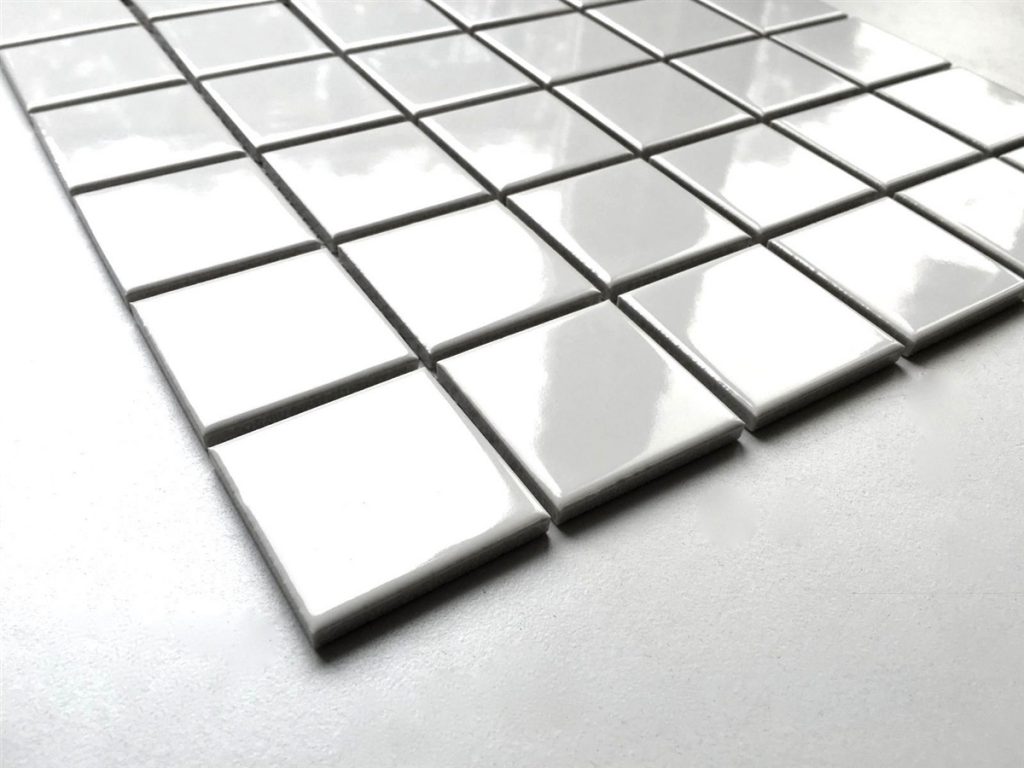
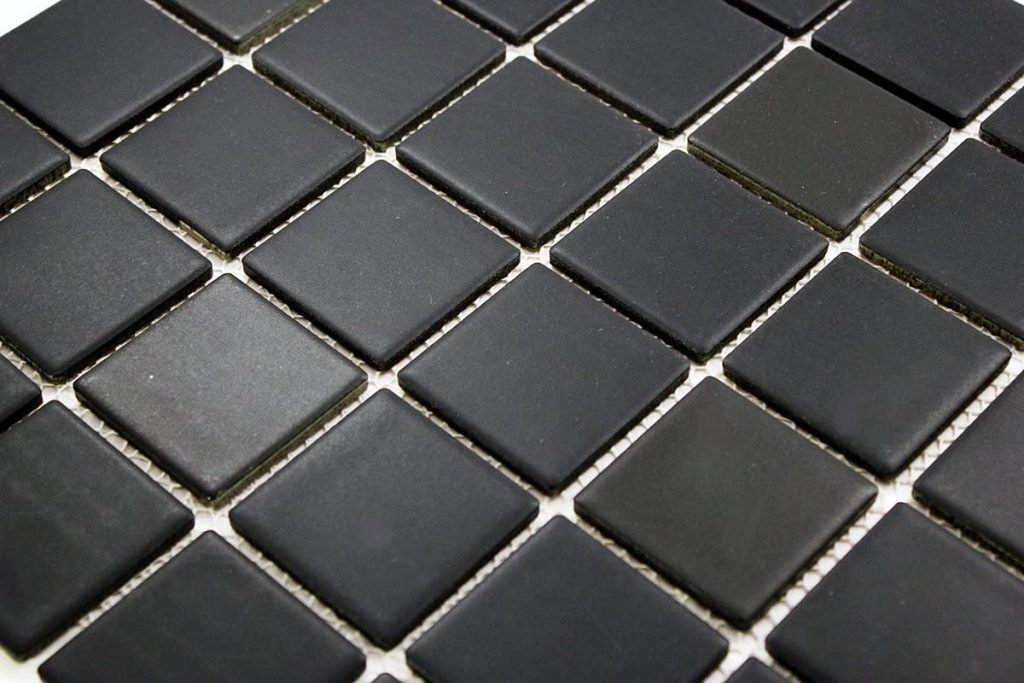
2x2 Ceramic Mosaic Tile
You might think that 2x2 ceramic mosaic tile installation is just like the installation of other tiles. However, these tiles are different than many other types, mainly due to their smaller size.
Usually, mosaic tiles are 2 inches or even less than that in size. These tiles are often glass-made and sheets mounted. When it comes to mosaic tile installation, there are a few unique challenges that you may face during installation. This article will highlight those challenges and we will tell you how to cut and properly set mosaic tiles.
2x2 Ceramic Mosaic Tile Installation Tips
Mosaic tiles are highly durable tiles that can last decades. But, remember that appropriate 2x2 ceramic mosaic tile installation is essential for the longevity of tiles. Here are different tips that you must follow for the appropriate installation of mosaic tiles.
1. Flatten Wavy Surfaces
Before you begin the installation of mosaic files, you must ensure that the surface or wall is perfectly flat. Before tiling, use a straightedge to check the wall or surface where you want to install mosaic tiles.
If you notice dips on the surface, you must flatten them using a joint compound. If it is a wet area, wall, or floor, you should consider a thin-set in place of a joint compound. Before beginning the installation process, let the thin-set or joint compound harden.
2. Keep Old Toothbrushes
Over time, you will see some thin-set discharging between mosaic tiles. The chances are brighter if they are thin like glass mosaics. In such situations, let the thin-set firm up.
After that, start removing thin-set from grout lines using an old toothbrush. Do not let the thin-set sit between your tiles because they will be visible through grout spaces.
3. Cutting on the Backer
The spaces between tile saws are usually very wide. Therefore, small size mosaic tiles may fall in which makes it hard to cut them. To overcome this issue, you should place plywood’s thin scrap under a mosaic tile sheet when you are cutting it.
Make necessary adjustments to the cutting depth of the saw to ensure that you don’t cut into plywood.
4. Carving out Curves
Cutting the curves of a 2x2 ceramic mosaic tile can be tricky. However, with a little knowledge, you can do it flawlessly. First, mark curves on the mosaic tile sheet you should remove the waste using straight cuts on the saw. After that, you can carve curves with the line utilizing a blade, such as a grinder.
5. Flattening the thin-Set
If the back of the glass mosaic or thin ceramic mosaic tile is not painted, you should use a jagged trowel to put on the thin-set. After that, you should flatten it a little with the trowel’s flat side before you set tiles.
Flattering the thin-set is essential to prevent air pockets and ridges from revealing through see-through glass tiles. This will also avoid squeezing the thin-set between mosaic tile spaces.
6. Trimming the Backing
The paper, plastic, or mesh backing holding tiles together may become a barrier if you forget to trim the edges. Grouting trouble is a possibility if the mesh sticks into grout lines or spaces.
If protruding backing occurs, it will become difficult for you to push adjoining tile sheets together. Therefore before setting mosaic tile sheets, you must look for excess backing and slice it off if present using a sharp knife.
7. Managing Spacing
When finishing the work, you may notice a gap that is difficult to cover with tile and also almost impossible to caulk. This situation occurs when the space is either too narrow or too wide. You can resolve this issue by spreading tile rows slightly.
For a bigger gap, you should spread more tile rows that will help you manage spacing well. Use a sharp knife for cutting mesh among tile rows. After that, nudge every single tile row using the trowel edge into the place. While doing this, ensure that you are evenly keeping grout spaces.
8. Tamping Them Flat
To ensure fully embedded mosaic tiles and to make them all look at the same level, you must tamp them using a block. You should do tamping once you have set the tiles sheet into the thin set. You can use a tamping block with a beveled edge that ensures an easy grip.
However, you can also use a wooden float handle that would work well too. While using the block wood, you must ensure a grout-free face that may scratch your mosaic tile. While holding the block, make sure that its facing is towards the surface. After that, bounce it upside down for setting tiles.
9. Setting the Decorative Band
Often, we use a thin 2x2 ceramic mosaic tile for the decorative band than tiles surrounding it. In situations where the decorative band tile is large, we advise you to use an additional thick thin-set layer under the tile. After that, exert pressure on it until joins with the other tile. However, this technique is not feasible with mosaics. Follow the below steps to resolve such an issue.
Step 1: Precise Gap
First of all, you should calculate the width of the band carefully. You can do it through measurement of the tile band’s width and including the grout spaces width. After that, you should cut down wood spaces, using them for tile alignment and leaving space for the mosaic decorative band. Remove spacers after setting up the adhesive behind surrounding tiles.
Step 2: Custom Screed
Now, you should create a customized screed by notching a putty knife. Ensure that the tile band thickness is equivalent to notches depth for the tile thin-set. Spread a thin-set layer in the area of the band and screed it using a notched trowel to ensure an ideal thickness. Let this thin-set layer firm up.
Step3: Spreading Thin-Set
Next, do a 1/8-in deep cut into the customized trowel. After that, spread a new thin-set layer and build an adhesive layer using your notched trowel.
Step 4: Setting Up Mosaic Tile Band
Finally, you should push the decorative tile band into the tile thin-set. This base makes sure that the mosaic band surface flushes perfectly according to the surrounding mosaic tile.
Following the above-shared tips and steps would help you ensure a perfect 2x2 ceramic mosaic tile installation process. To know more about ceramic mosaic tiles, please click here.